Apple Airpods Pro 2 - Long Term Review

After using my Apple AirPods Pro 2 for a 3 years now, I thought it would be worthwhile to write a long term review of how it has held up to daily use since then (specially the battery). Although these have now been replaced by the new AirPods Pro 3, they might still be worth considering if you’re on a budget and looking to save some money. I don’t always buy the latest release because sometimes you can save a lot of money by buying one generation behind. I did the same thing with my Sony Noise Cancelling headphones and only only bought them when a newer version was released

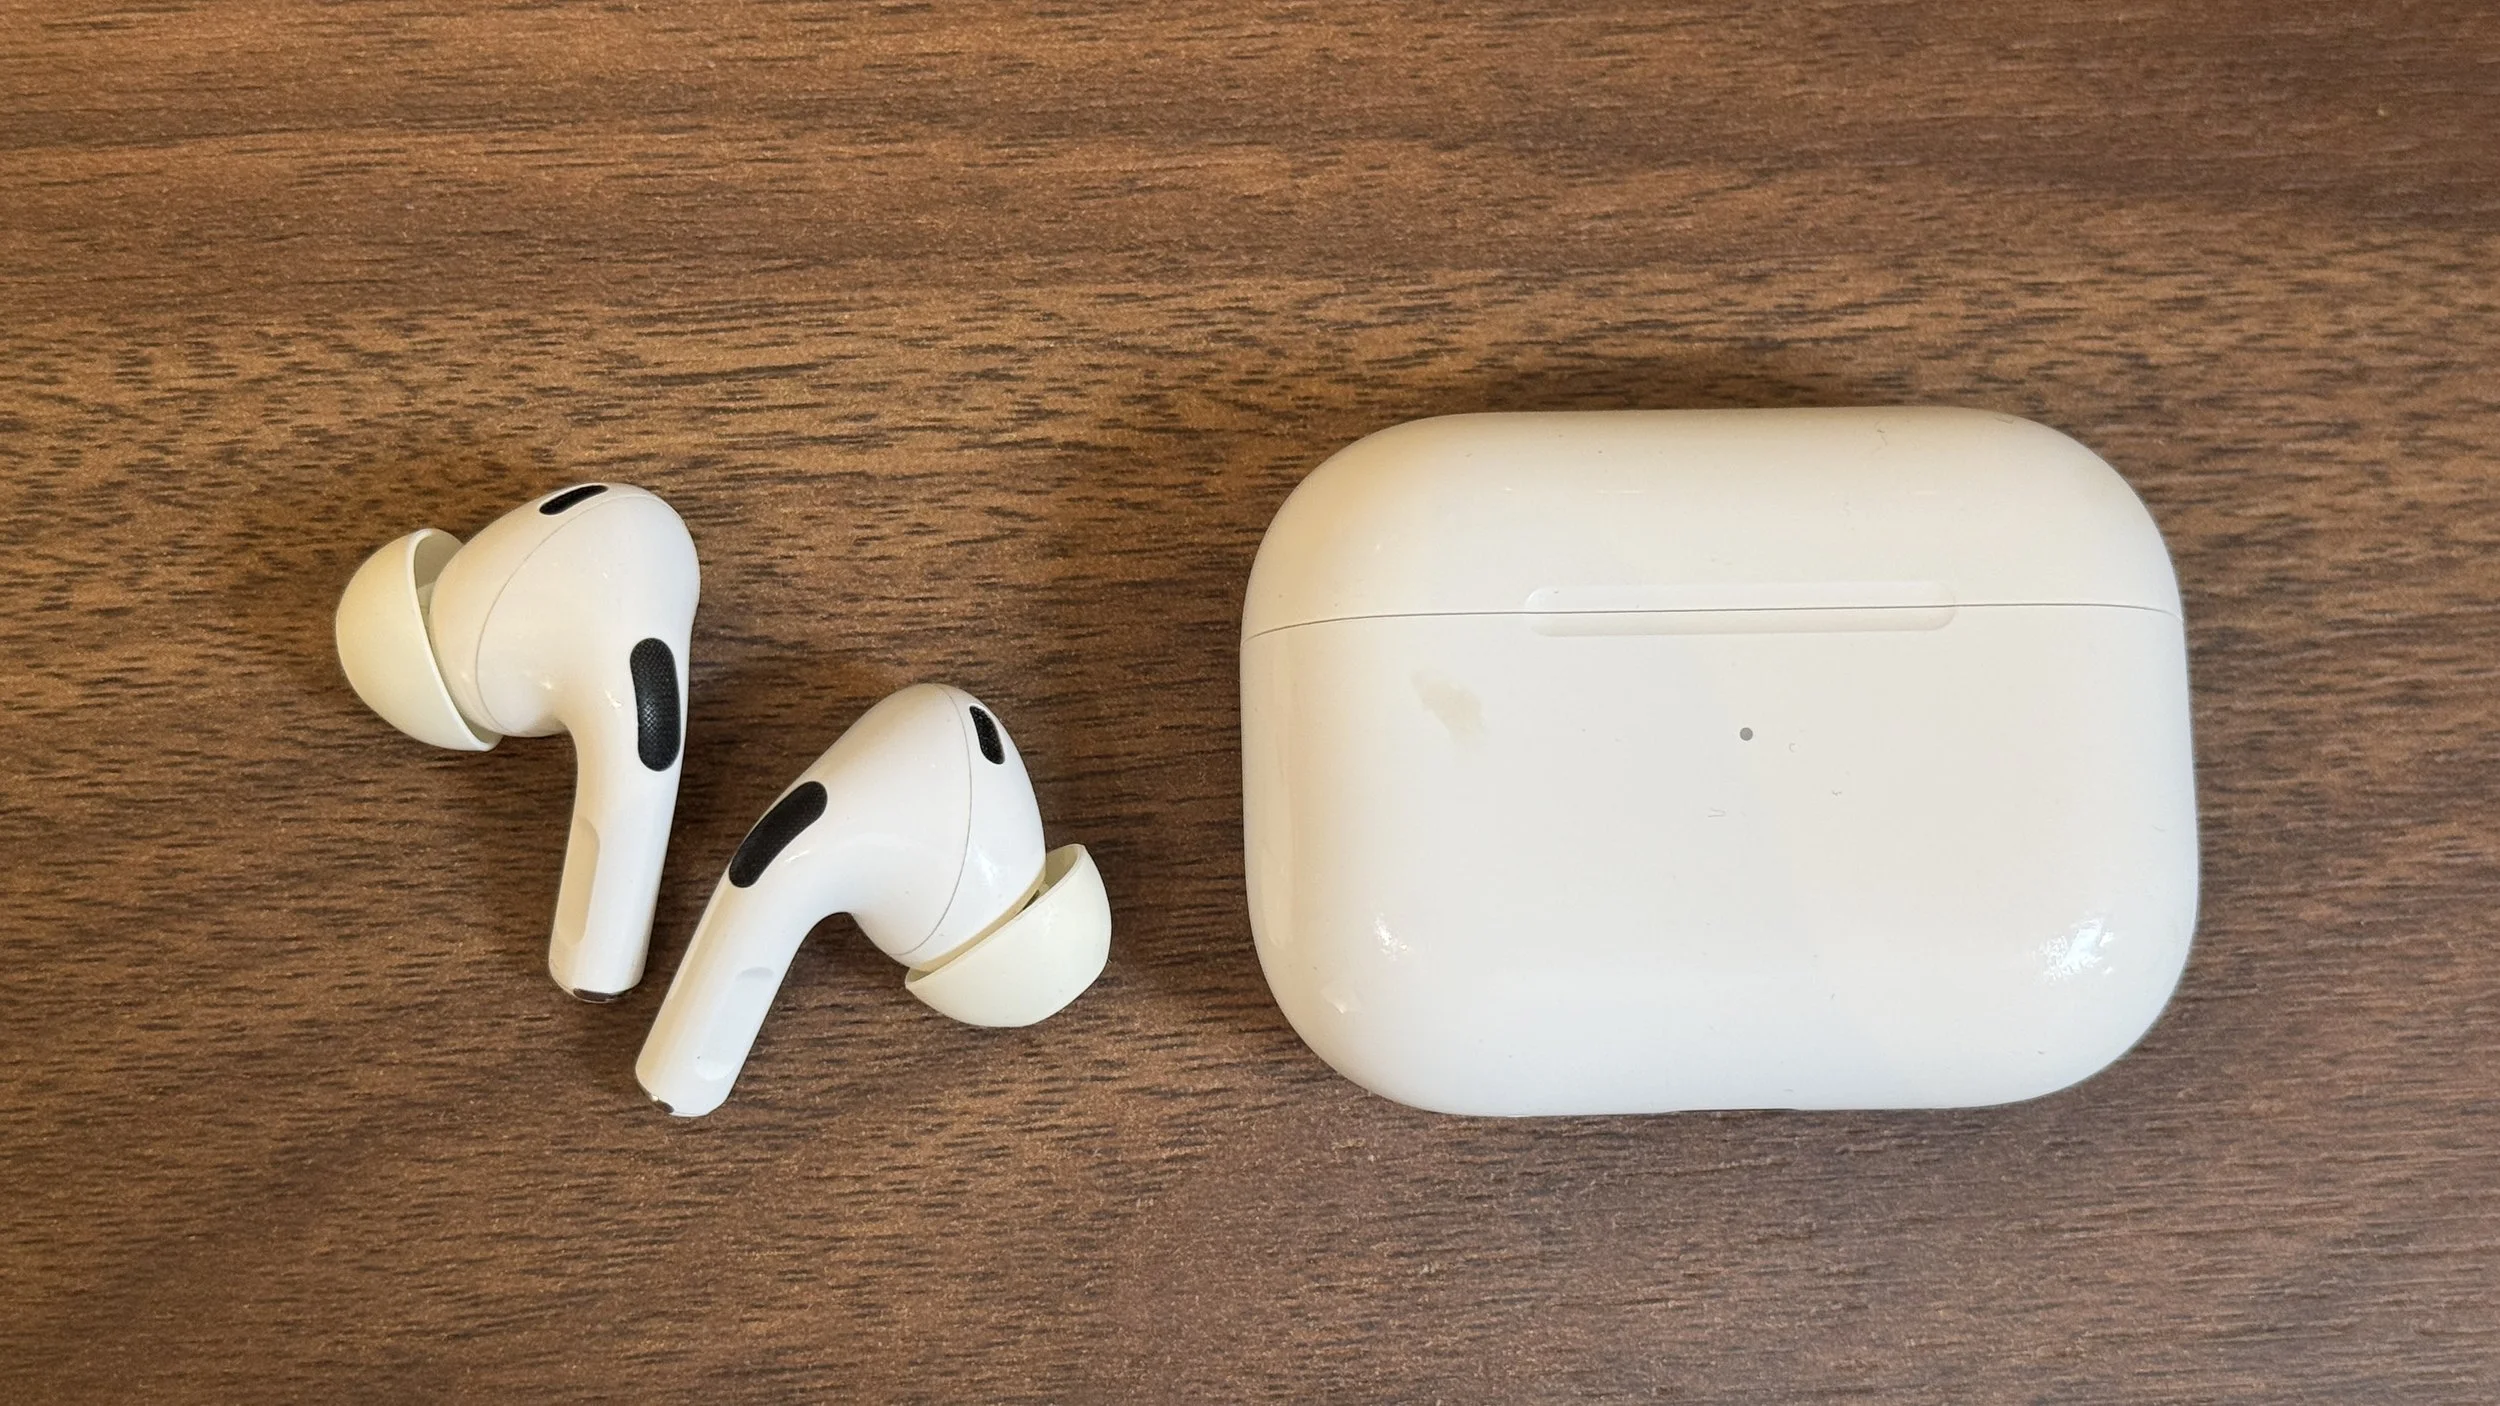
My Apple Airpods Pro 2 with the case

Call Quality

Let’s start with the call quality since I initially bought these Airpods to use for work calls. I attend a lot of Microsoft Teams Calls during the week and while I used to use my Sony Noise Cancelling headphones, I found them cumbersome since they’re large and feel heavy after several hours of meetings. I had tried several other bluetooth headphones but always found the quality unacceptable until one day, I noticed the voice quality of my colleague’s Airpods during a call. They were good enough that I decided to buy a pair.

These AirPods initially worked very well for Teams calls but at some point Microsoft updated Teams and it caused severe sound issues with my Airpods. The person on the other side of the call kept telling me that I sounded unintelligible and the audio was broken. Unfortunately, I couldn't fix it (even after trying to turn off noise isolation in Teams) and had to resort to using a different headset until Microsoft fixed the issue. This lasted for several months so keep that in mind if you are buying AirPods primarily to use for Teams work calls. Essentially when they work, they work very well but if there are any bugs with Teams then they can become unusable. I haven’t had any issues for the past few months and I hope it stays that way. I have had absolutely no issues at all for regular phone calls though, even when only using one side.

Sound Quality

One thing that pleasantly surprised me when upgrading from the Airpods Pro 1 is how much stronger the bass is. The audio sounds fuller and deeper and I have no complaints here at all. They sound just as good as when I purchased them.

Battery Life

According to Apple, the battery should last around 6 hours for listening. When my AirPods were new, they would last approximately 5 hours when used for phone calls (or Teams calls) and only slightly longer when used for listening only (with the noise cancelling turned on). 3 years later, it comes as no surprise that the battery life has decreased. After a 73 minute call, the battery now drops to around 72%, which extrapolated would give us around 250 minutes or 4 hours and 10 minutes for a full charge. To summarize:

  • Battery Life New: 5 hours for calls (Real-Life)

  • Battery Life After 3 Years: 4 hr 10 mins

  • Battery degradation: ~24% (Estimated Battery Health ~75%)

The calculations above roughly matches my day-to-day experience, these usually give me about 4 hours of use before needed a charge. Despite the drop, I am still happy with the performance because it allows me to attend most work calls and place them back in the case for quick charging in between. Since these batteries are not user replaceable, the AirPods are essentially junk once the battery has degraded. Keep in mind that the values above are based on my experience on using them almost daily for work calls.

Noise Cancellation

The active noise cancellation works quite well and I haven’t noticed degraded performance. They are fine for day to day use like in an office or while commuting but for flights, I highly recommend getting proper over the ear headphones like these as they are just far superior.

The Case

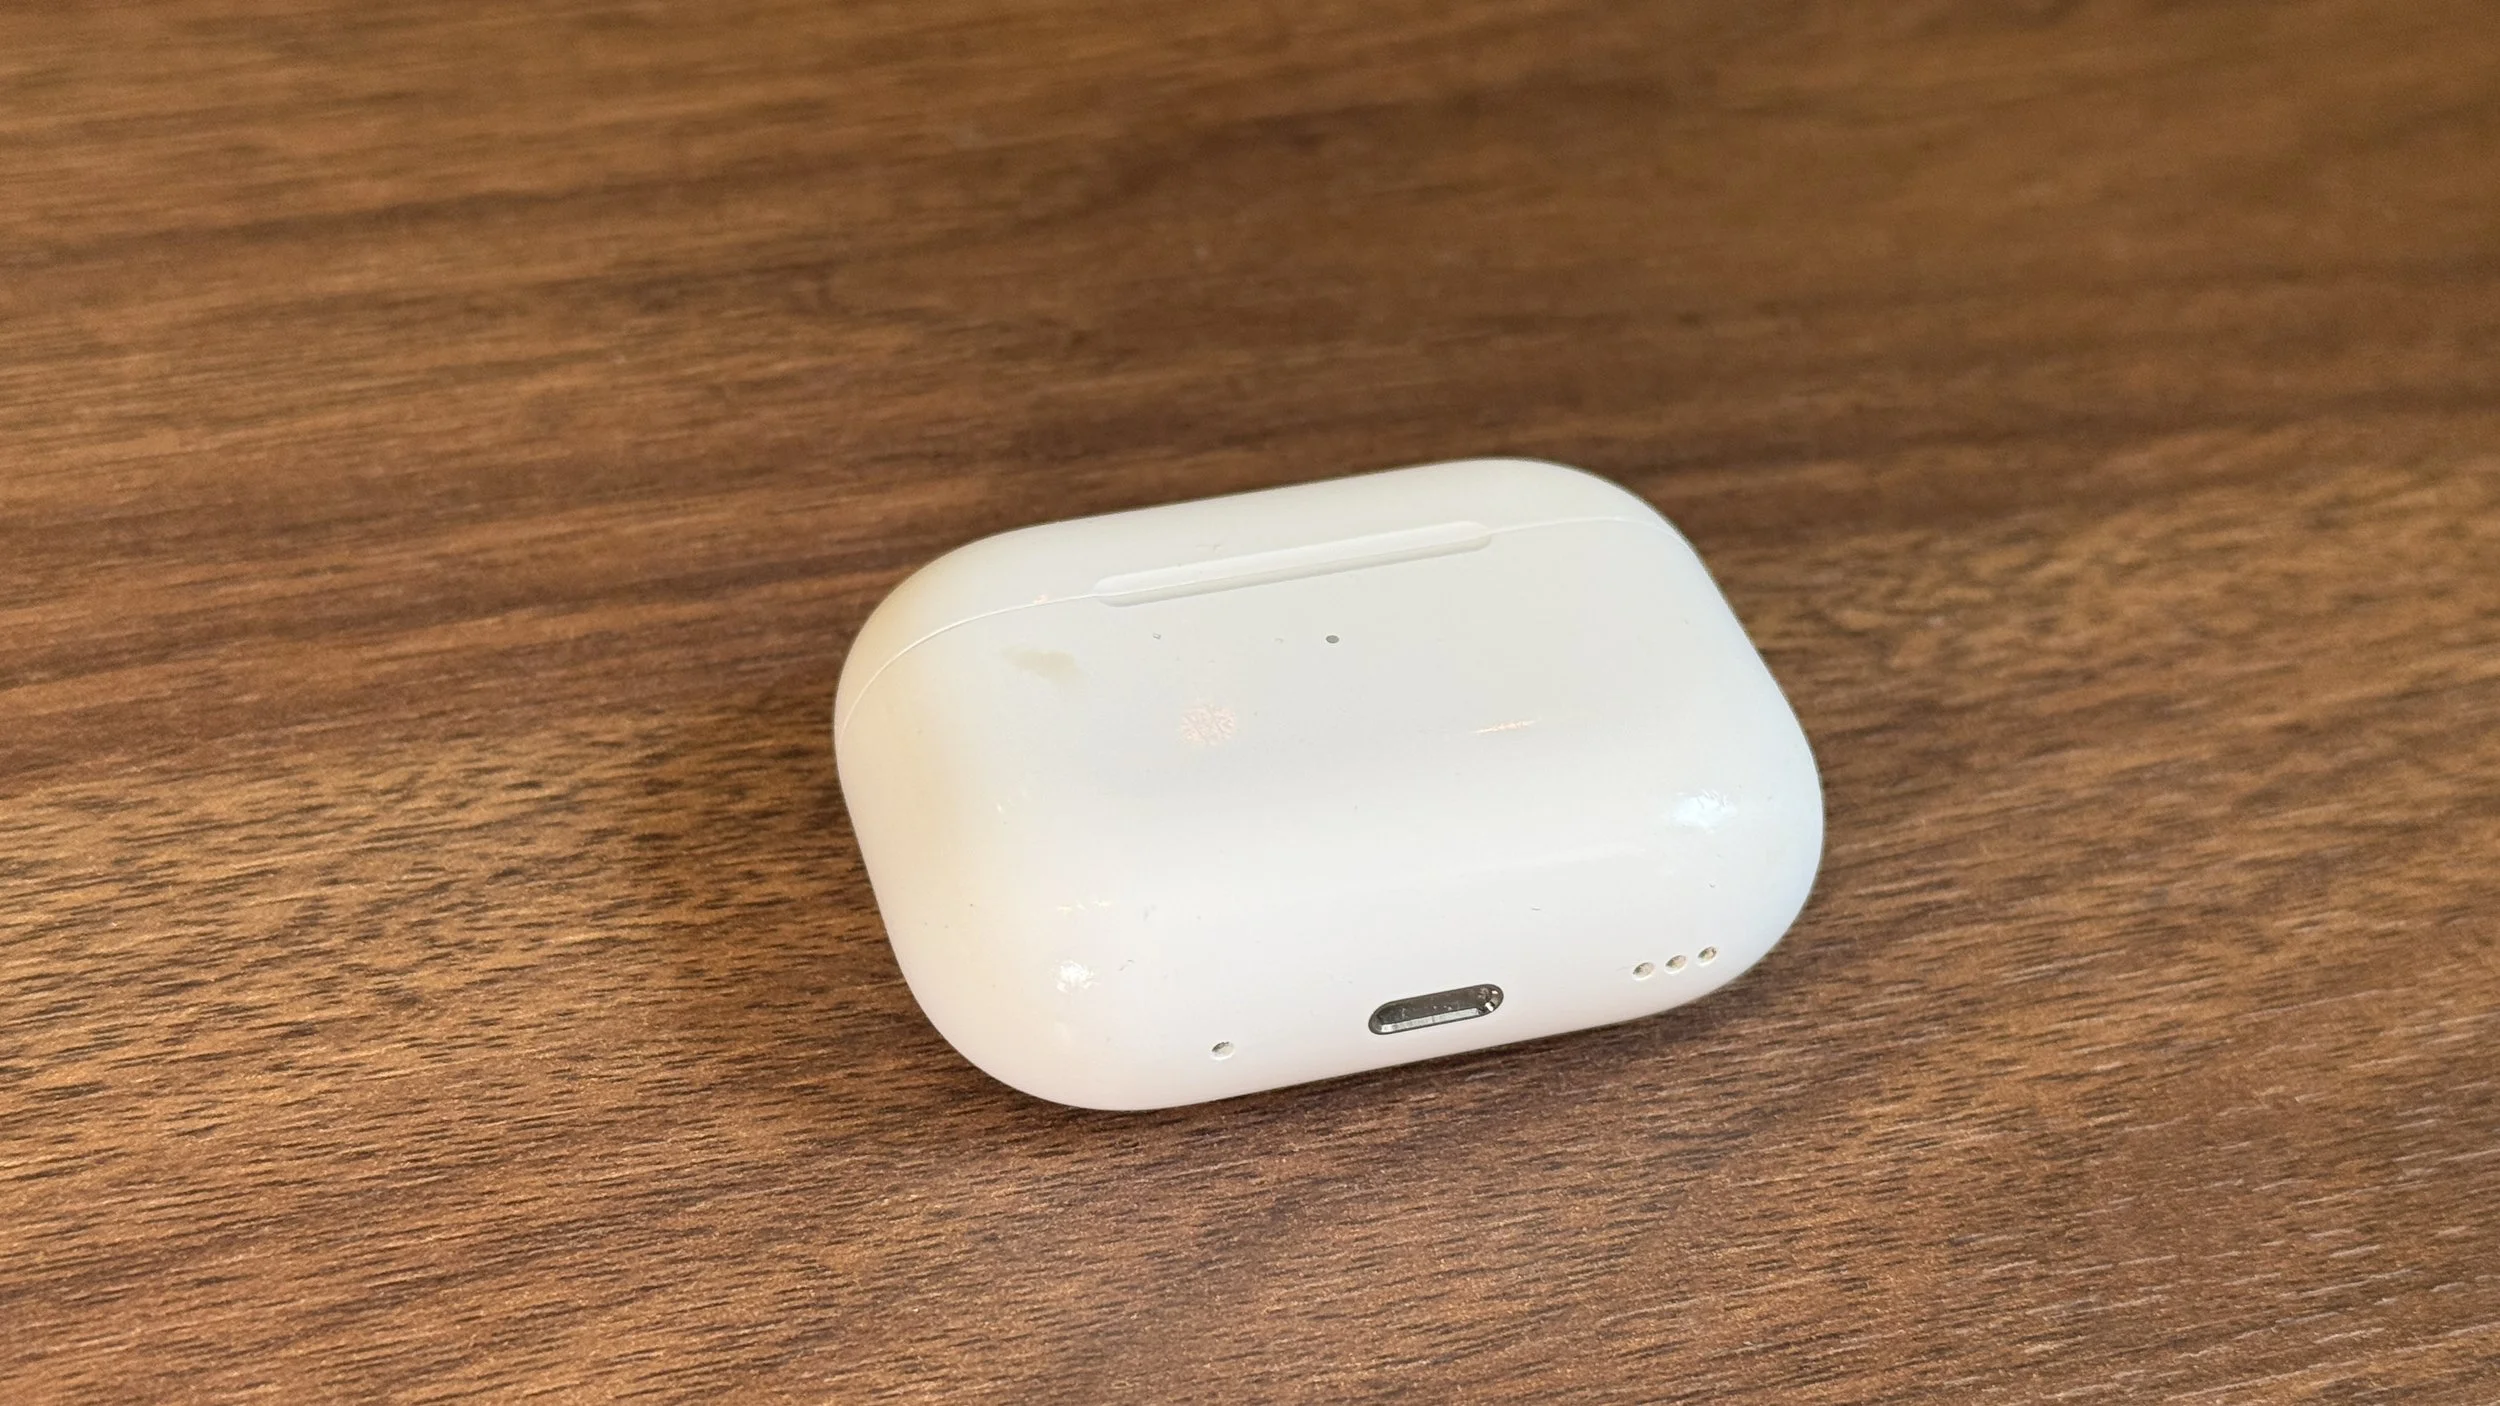
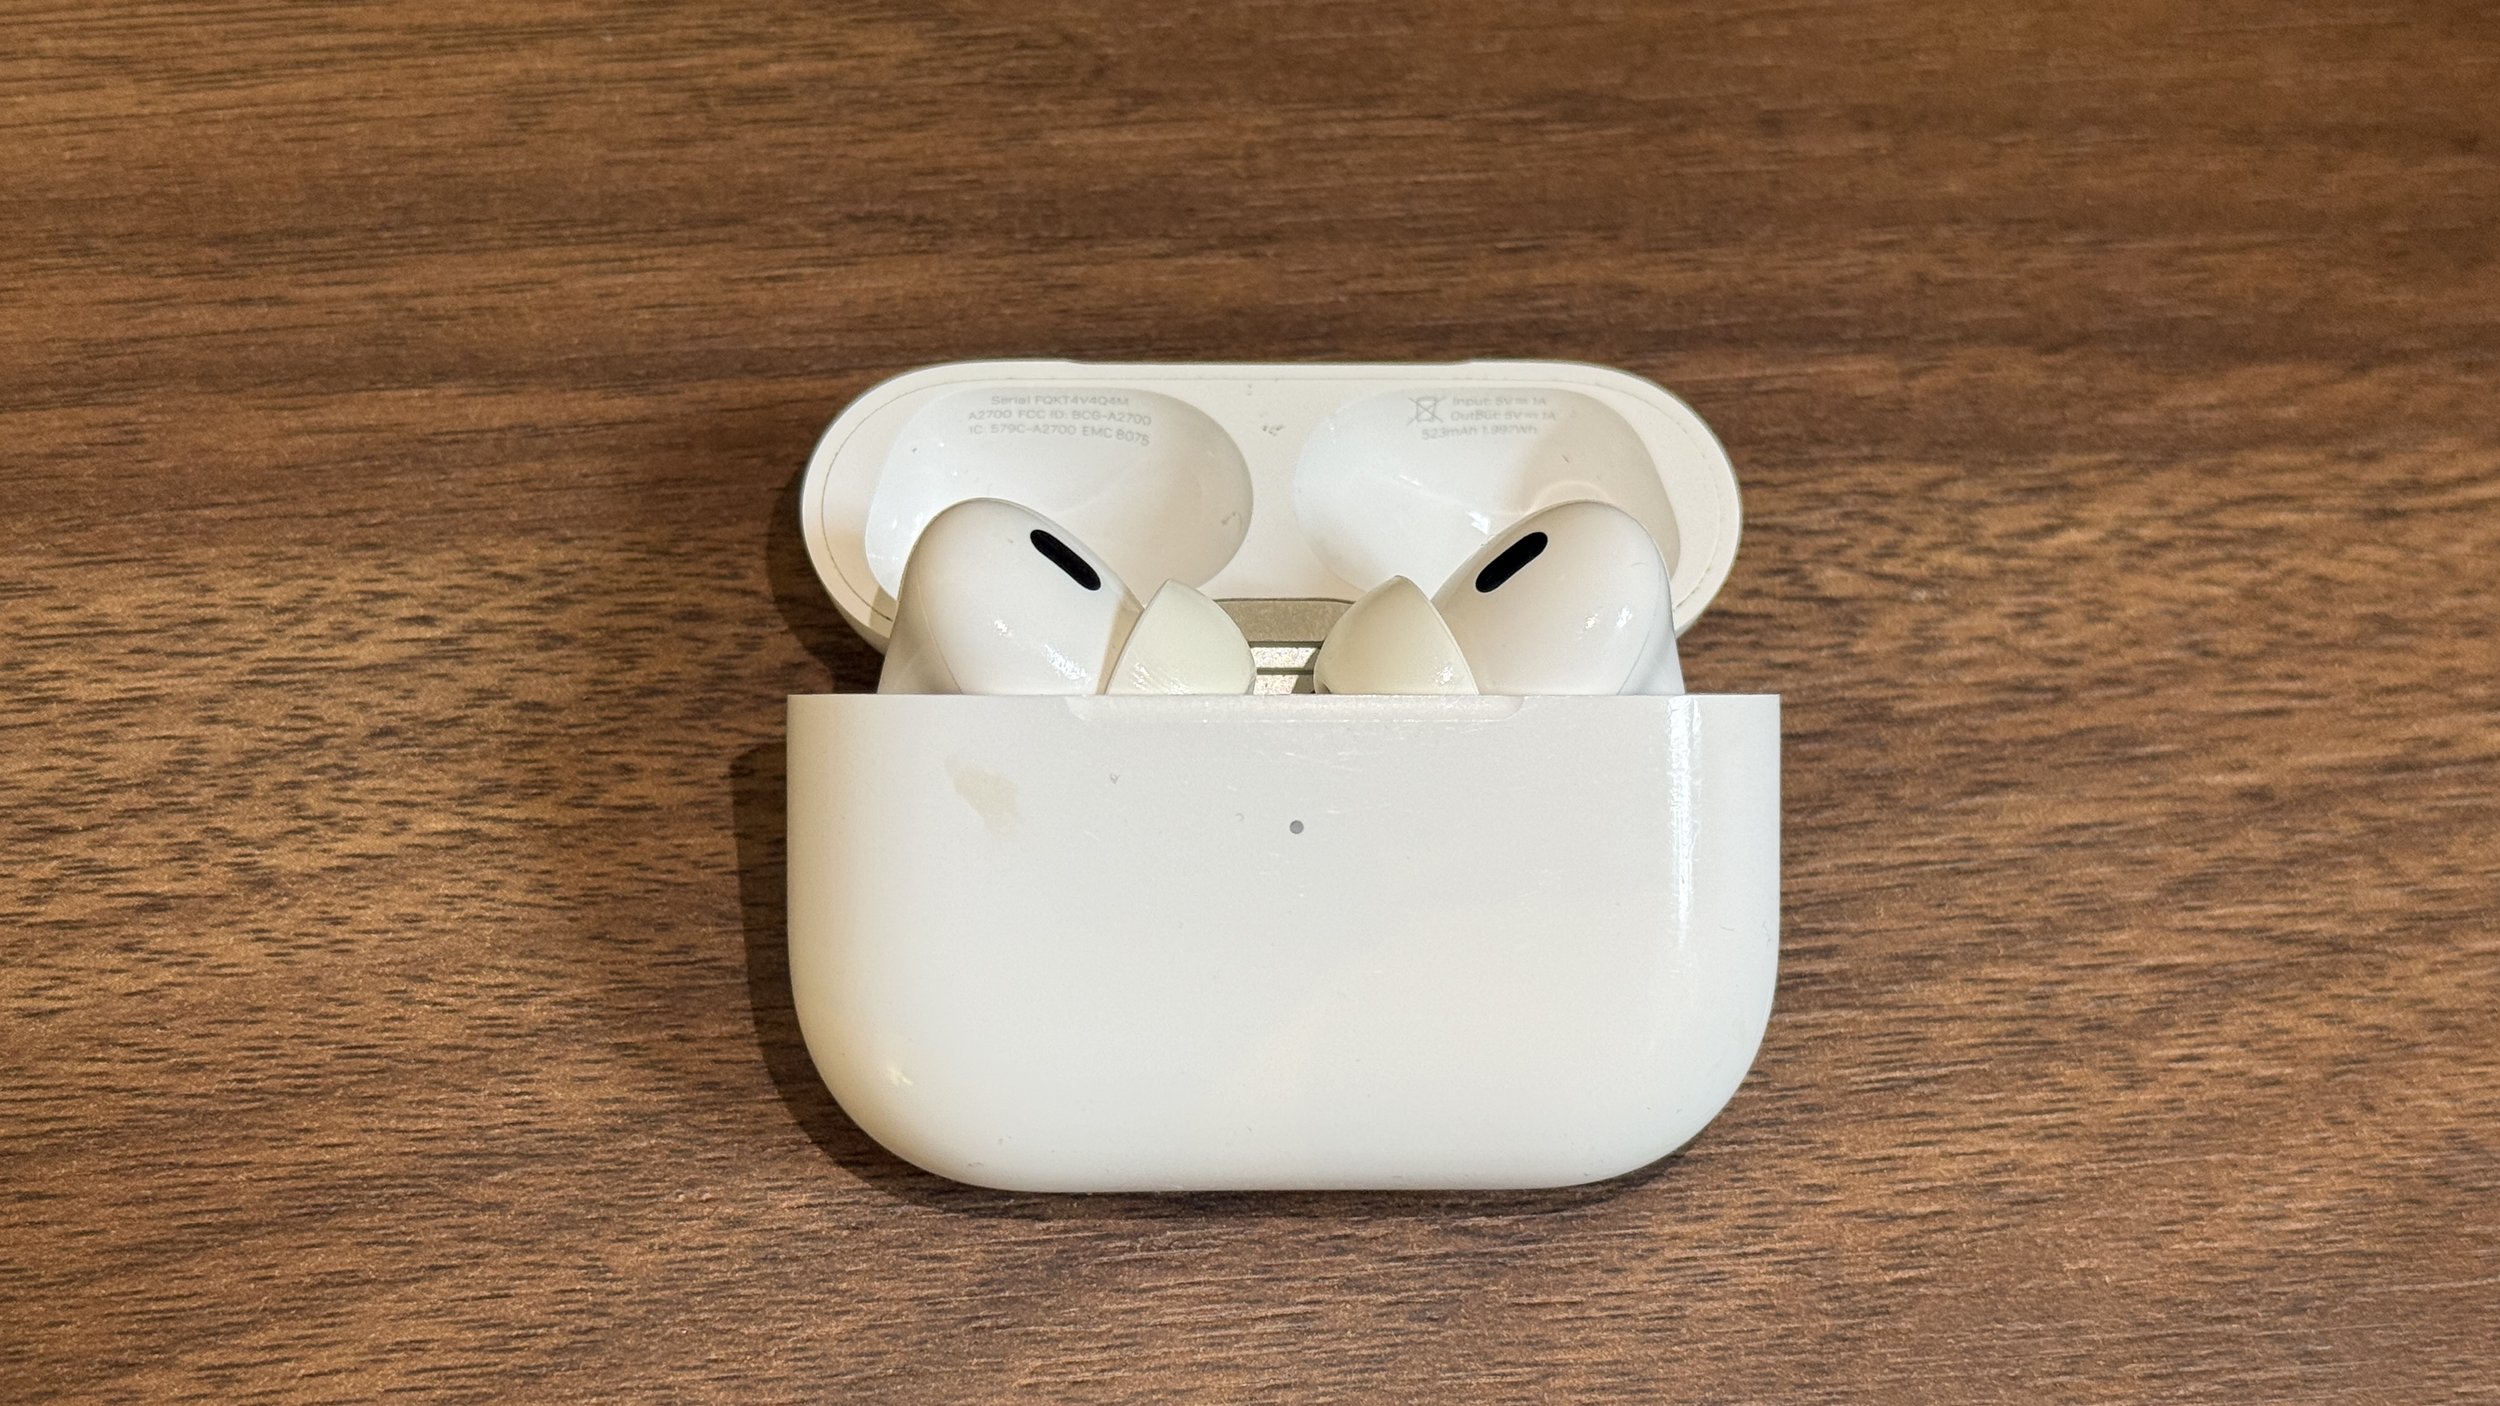
The case has started to show signs of wear and tear and gets easily scratched. It is made out of cheap plastic and feels very un-apple like but even after years of use, it hasn’t loosened up or broken and is holding up fine. I have dropped it a few times and the headphones often popup when it hits the ground. If you are worried about scratches, I’d suggest adding a protective case.

Wireless Charger & USB-C

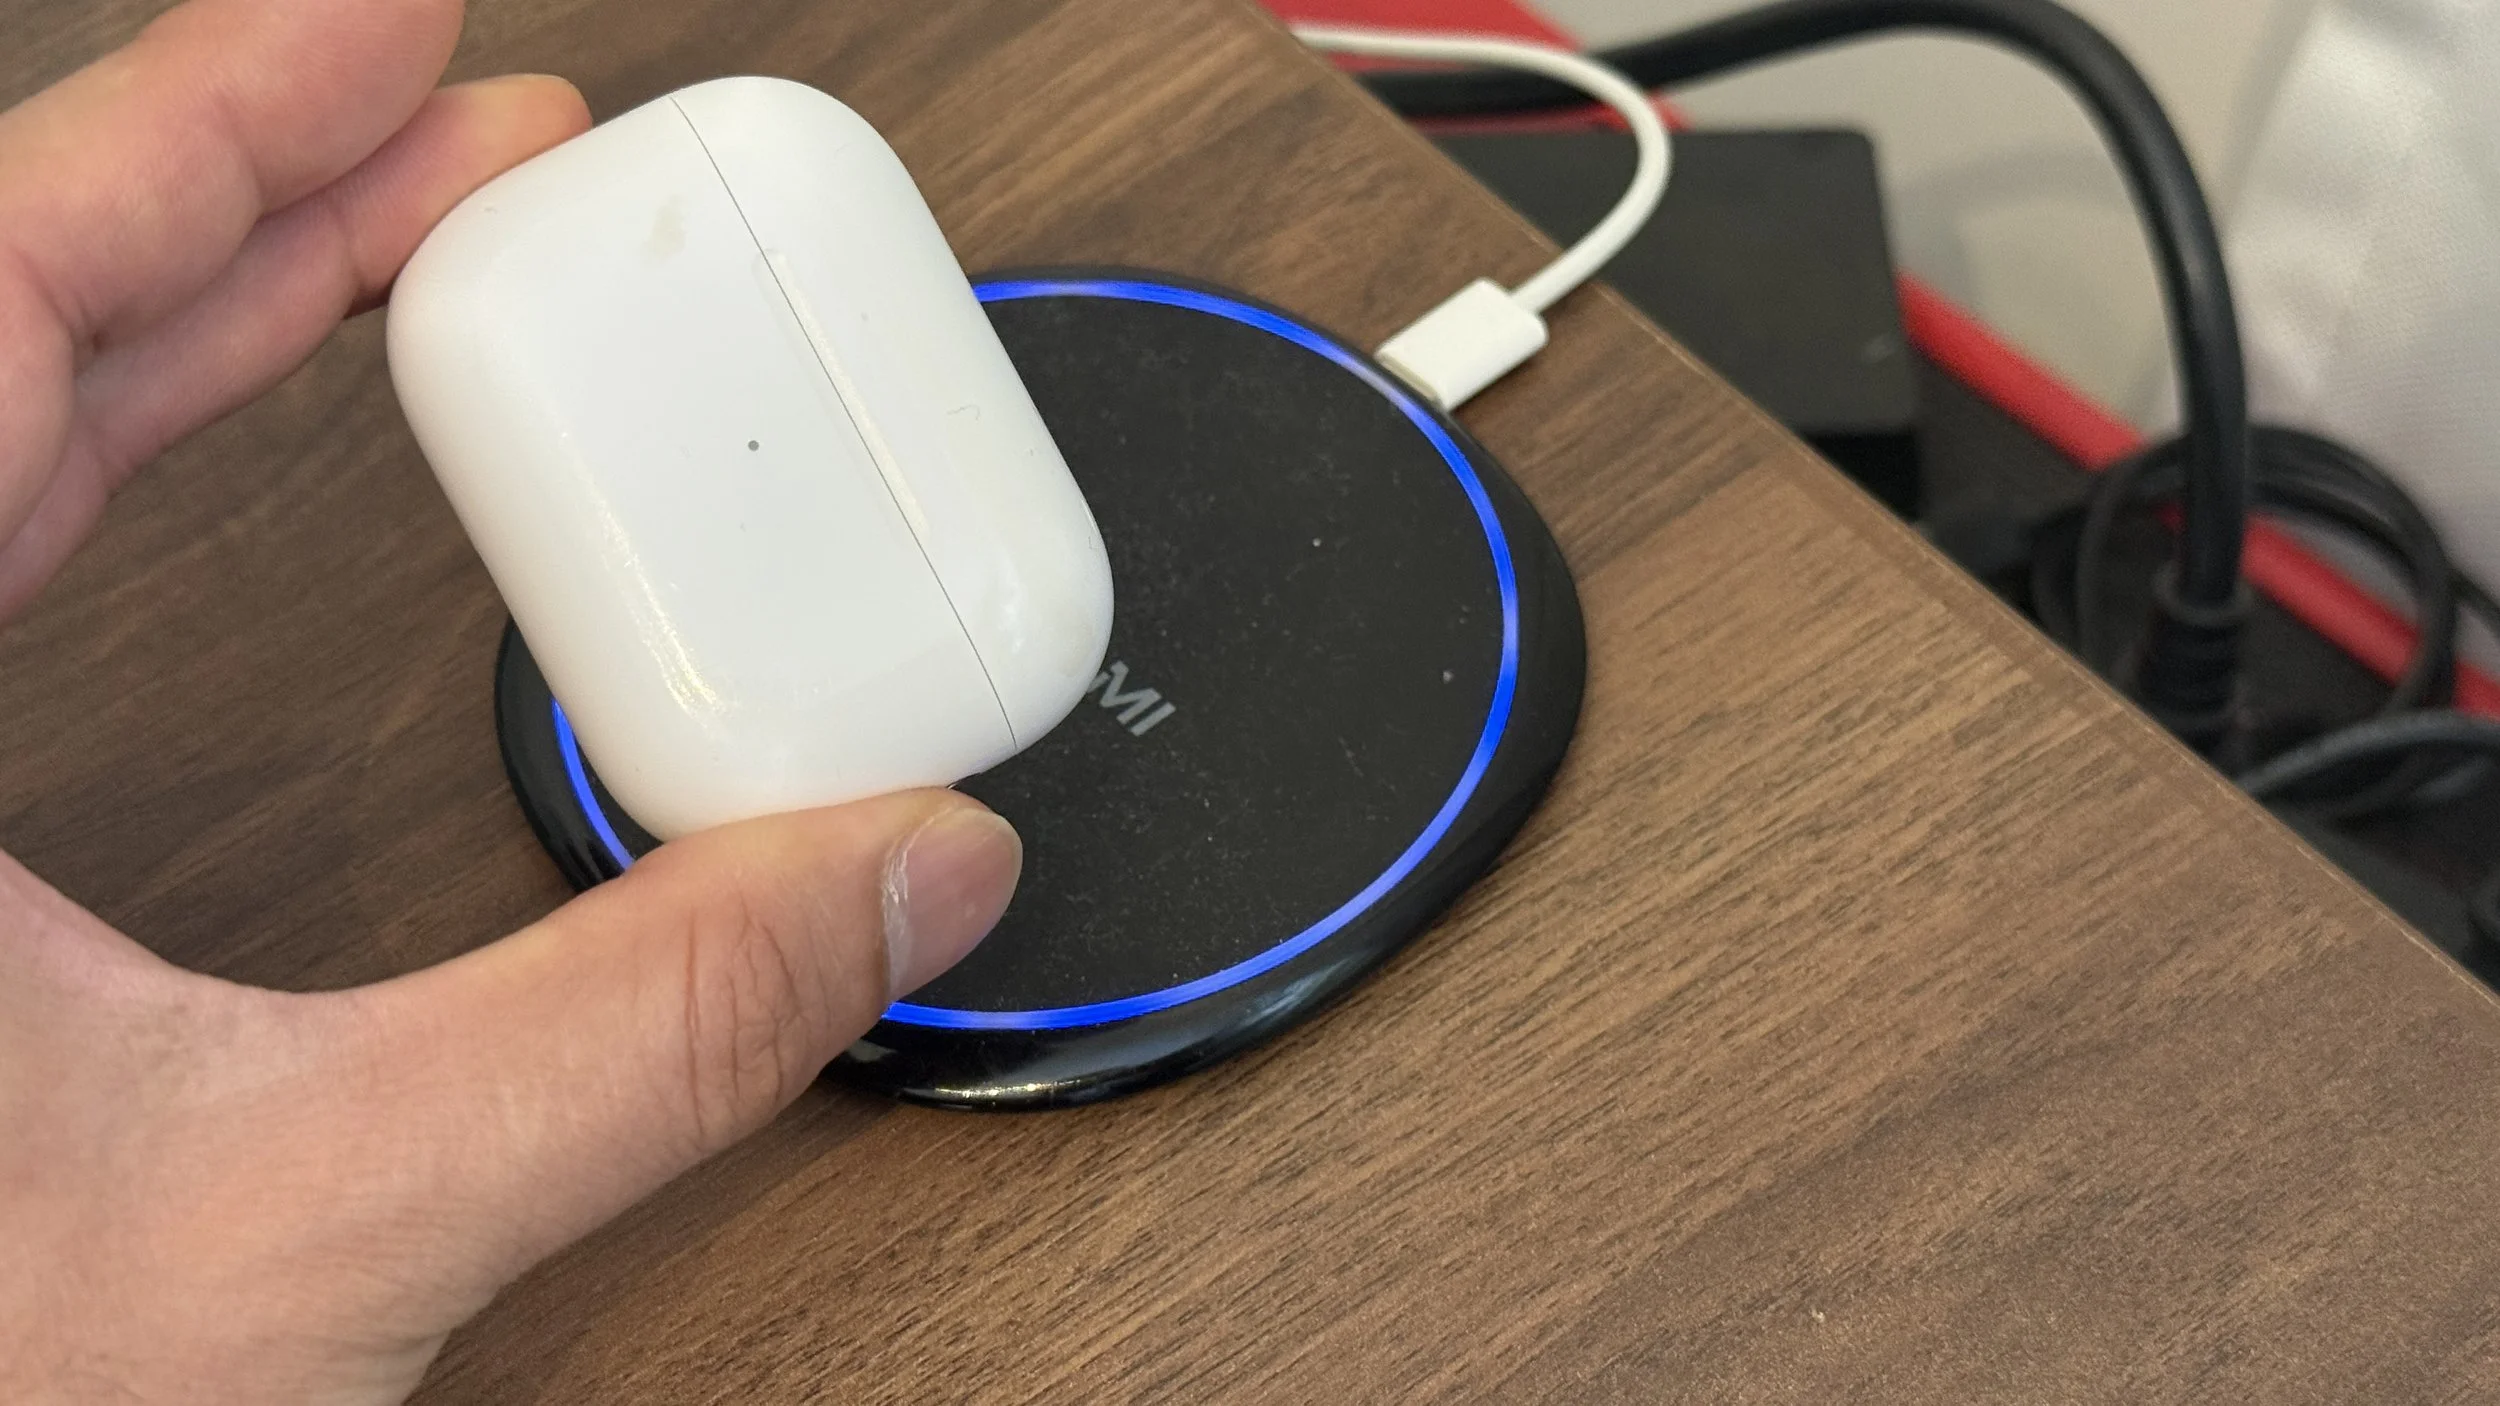
In true apple fashion, these were not updated to the latest USB-C even though it was ubiquitous at the time of release. Instead, apple waited to add that into the AirPods Pro 3 to give you a reason to upgrade. I don’t have a use for a lightning cable anymore but I found that charging these are a lot simpler if you get a wireless charger. Simply store your case on the charger and it will keep it fully charged at all times. The light flashes orange when charging begins and will flash green once full.

Apple Extras & Updates

1. FindMy

The addition of these in the FindMy App have been a useful feature in case you forget them behind. I haven’t had to use them but I do appreciate the feature that Apple has added to make them ring when you cannot locate them.

2. Apple Updates

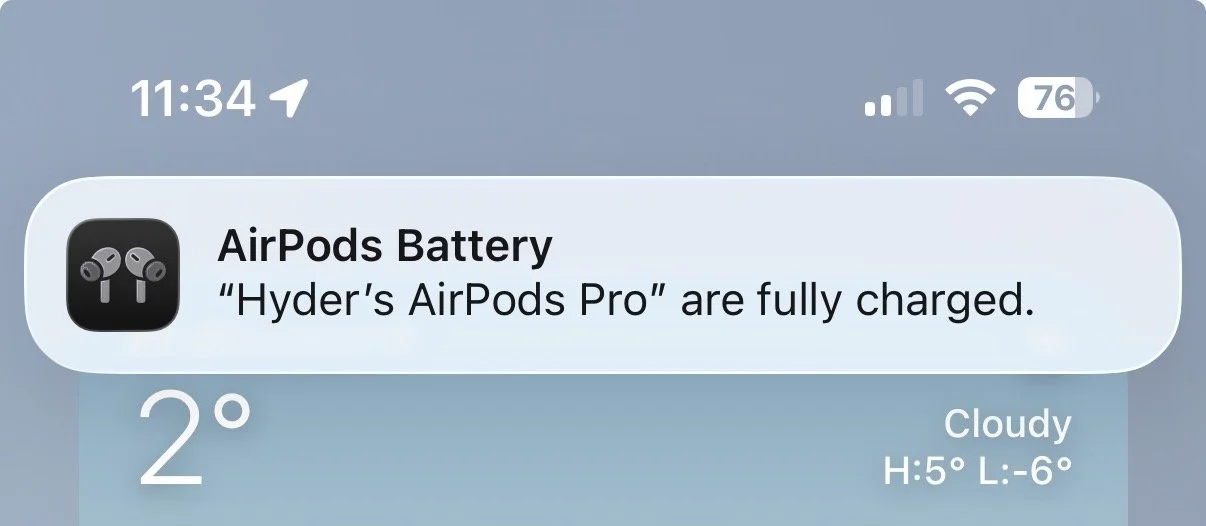
With the latest update of iOS, my MacBook and iPhone now get a notification when my AirPods are fully charged. It’s a nice easter egg that was not there before and it is great to see Apple still supporting their older products.

3. Using AirPods for Sleep

As a light sleeper, I tried using these to sleep when I was travelling and it was unbearable because when the battery runs out in the middle of the night, they would screech this unbearably loud notification that would jolt me awake. I learned my lesson the hard way and had to use other headphones while sleeping instead. In one of the newer updates, Apple has fixed this bug and they no longer screech when the battery is low. I can now wear them to sleep and they just turn off in the middle of the night when the battery dies. (I wouldn’t recommend wearing them to sleep every day as there are risks of ear infection).

In summary after 3 years:

✅ Battery still holding up (approx 75% battery health)

✅ No signs of damage

✅ Still receiving updates

✅ No sound/ANC issues

Given the above, I would buy them again. I hope they last me beyond 5 years and I do have hope since my 2013 Macbook Air still works and can hold a charge!!

Related Posts:

Cressi Leonardo - The Best Budget Dive Computer (A Long Term Review)

After completing my PADI Advanced Open Water Course back in 2019, I bought my first dive computer right after. I did not know much about dive computers back then and bought a Cressi Leonardo because it was affordable. I have been scuba diving with it ever since and it has served me very well for several years so I think it deserves its own review! I was not paid for this review and I purchased this dive computer with my own money. Below I break down the 6 reasons why I think it’s the best budget dive computer for both beginners and experienced divers.

1. You can’t beat the price!

Scuba gear can get expensive very fast and not everyone has thousands to spend when starting to dive. It was very hard to find a good dive watch for under $300 but I paid around $267 CAD for my Cressi dive watch. The prices vary by colour and by country but even today, it is an unbeatable deal! You can order from Amazon or check out your local dive shop as they likely carry it since this model has been around for several years now. Dive shops often charge extra for dive computer rental (around $10 USD per dive) even when the dive equipment is included so in the long run, you will end up saving money.

2. You can use it as a beginner and experienced diver

With a maximum depth of 132 ft, this dive computer will serve you as a beginner and all the way to an experienced diver. If you decide to do your Advanced Open Water or Deep Diver specialty, you will be covered!

3. It has a Nitrox setting

This is related to my previous point. If you eventually plan to obtain your Nitrox certification, you are covered there too! You can activate the Nitrox option in the settings and dive as usual (I have linked the manual at the bottom of this article as it provides instructions on how to navigate the menu). In short, the Cressi Leonardo pretty much covers all your basic needs as a scuba diver and you don’t need to spend thousands of dollars.

4. The battery lasts for a very long time

You can dive for several days on a single battery. I usually only dive when I go on vacation and I replace the battery around once every year to two years. For a week of diving in the Maldives, a single battery was enough. The Cressi Leonardo also uses a non-proprietary CR2430 battery that is commonly available at pharmacies and small shops so even if you do run out, you can likely purchase one while on vacation. Otherwise order yourself a pack from Amazon and just leave it in your suitcase so you won’t need to worry about it.

5. It’s well built and tough

I have personally dropped my dive computer many times and sometimes I just toss it in my dive bag without a case or protective cover and it has stood up very well against the test of time. Also while diving on a boat, things tend to get chaotic and it's very easy to bump my dive computer with a tank or the side of the boat but there are still no cracks or scratches on it.

6. It has a backlight

The backlight is actually quite dim when using it outside so you won't really notice it when you're on the boat on a sunny day however once you're underwater you will definitely see the difference. The backlight makes the screen more legible during dives, specially on cloudy days or in water with poor visibility. It auto-switches off by itself after a few seconds.

Cons

Now it would be wrong to say this is the perfect dive watch. I have noticed a few downsides, though in my opinion the good outweighs the bad.
The first issue is that it is on the larger side for a dive watch. If you have small wrsits, the watch will seem extra bulky. It also gets snagged sometimes when putting on your BCD.

The other issue I’ve encountered is that the menu can be a bit difficult to navigate with a single button. There is no bluetooth connectivity if you’d like to sync the logs to your phone but I think all of that is overkill anyway, I really just need the dive watch to keep me safe underwater and during my surface intervals. You can copy over the dive logs into the SSI App after your dive as it records the last 20 dives or so in the log.

To summarise, this dive watch has all the basic functions you will ever need as an Open Water or Advanced Open Water Scuba Diver (including Nitrox) at a great price!

You can download a PDF copy of the manual here. I suggest saving it on your phone so you always have it with you when going on a dive drip. It has helped me out countless times, specially when I need to reconfigure the settings and can’t remember how to do it.

Good luck and Happy Diving!

Originally published May 14, 2024

You might be interested in the following scuba diving posts:

Scuba Diving The Catalinas Island, Costa Rica (Can you dive with Manta Rays?)

One of the reasons I wanted to visit the Pacific Coast of Costa Rica was for the opportunity to scuba dive with Manta Rays at the Catalina Islands. It was hard to find information online but I did find some youtube videos taken by scuba divers of encounters with these beautiful rays so I decided to go for it. My experience turned out to be a little different however.

The Dive Shop

Since I was staying in Tamarindo (which I don’t recommend because it is very overpriced and full of trashy tourists), I booked with a dive shop called Tamarindo Diving. They were very friendly and confirmed my booking right way. They also contacted me via WhatsApp to coordinate the pickup time. The dive shop sent a van to pick us up the morning of our dive. I was very pleased that they showed up right on time. We arrived at the shop to try on some rental gear. After completing my Advanced Open Water certification a few years ago, I decided to buy some basic gear for scuba diving so I always bring my own budget dive computer, fins, wetsuit from Amazon and my mask so that I don’t need to try on much at the Dive Shop. I usually just need to try on a BCD. Getting your own gear does not have to be expensive and I highly recommend you build your own collection over time. My dive computer, fins and wetsuit have lasted for years although the wetsuit is showing signs of wear. Once every one was ready and signed their waivers, we drove back a few blocks away to Tamarindo beach. If you have your own rental car, you can follow behind the Dive Shop’s car.

Note that they have now moved the location of their dive shop and it's located walking distance to the boat near the beach. We boarded a small canoe-sized boat to transfer us to their larger dive boat where the crew helped set up all of our equipment. After a quick briefing, we headed towards the Catalina Islands! The ride took about an hour.

The Catalina Islands

As we approached our first dive site, we suited up and split into two groups, one consisting of advanced divers who went off separately from the less experienced divers. We descended to around 18 meters at the first site. There were plenty of fish around but unfortunately due to the visibility being so poor, it was hard to observe them. Our group followed the Divemaster and soon we came across a trio of sleeping whitetip reef sharks. As we passed over them, they suddenly moved around, presumably because they don't like the presence of a large animals above them as it makes them vulnerable. We took a quick break on the boat in between dives (surface interval). Our friendly crew handed out some snacks and juice. Throughout both dives, we continued to encounter several whitetip sharks. There wasn't much to see in terms of corals or large pelagic life so the sharks were the highlight of the dives.

So, can you see Manta Rays in the Catalina Islands?

I never quite got a clear answer as to when Manta season is since some people mentioned it was during the dry season whereas others mentioned that the dry season wasn't the time to see them. Either way, even if there were Manta Rays around us, we wouldn't have seen them due to the poor visibility. Mantas are wild animals after all so as it often goes in scuba diving, it is largely up to luck. February is the time for the mobula migration though but we must've been unlucky since we never spotted any. In short, it may be possible to spot Manta Rays but I wouldn’t suggest coming here just to see them. Rather it’s a good place to dive if you already happen to be vacationing here! I did have the chance to go freediving on this trip and while the visibility was very poor, I could hear the songs of the humpback whales underwater!

After the second dive, we headed back towards Tamarindo. During the ride back, we were surrounded by dive bombing birds hunting fish on the sides of the boat. It was a beautiful spectacle to see. The cliffs on the coast made for a nice view as we approached the shore. Overall I wouldn't recommend going out of your way just to come dive here but if you're already planning to visit the area then do allow yourself an extra day to dive with some reef sharks!

RELATED